Ten days ago I attended a two day course in food photography and styling at Leiths School of Food and Wine. For a while now I have been taking my own images for this blog, broadening my limited knowledge with online tutorials. It has taken me so far, but there is nothing that can match being in the company of someone who has made a success out of food photography.

Food photographer William Reavell, who has worked on books with Mary Berry, Rick Stein, Antonio Carluccio, Sophie Grigson and Gizzi Erskine, to name but a few, led the course. Every aspect of food photography was covered; from the technical, which covered exposure, composition, lighting and angles, through to the creative side that tackled styling, plating up and propping images.
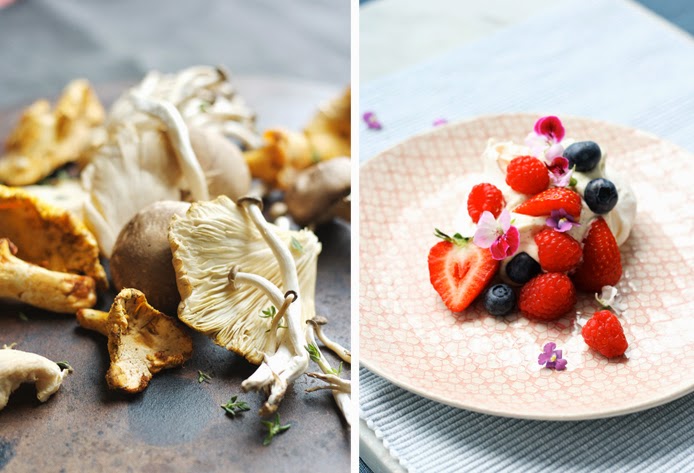
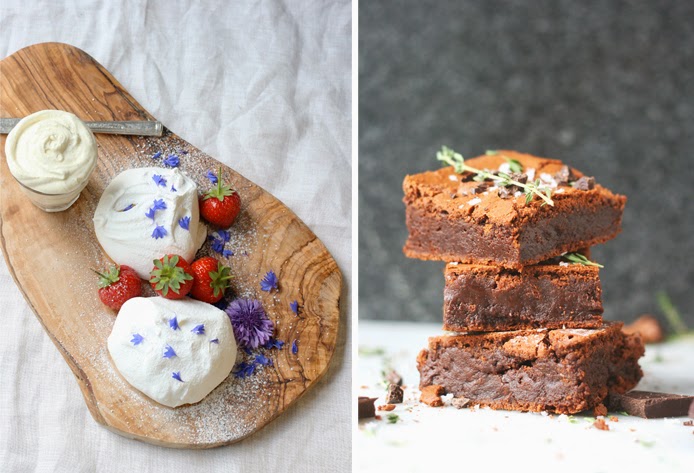
It was largely a practical course, which is frankly the only way to learn. The class worked in pairs taking it in turns to both style and photograph the food. On the first day we worked on salads and brownies and on the second day it was stir fries and meringues. We worked in one of the Leiths kitchens with a fantastic range of both produce and styling products at our disposal. I was like a kid in a sweet shop.
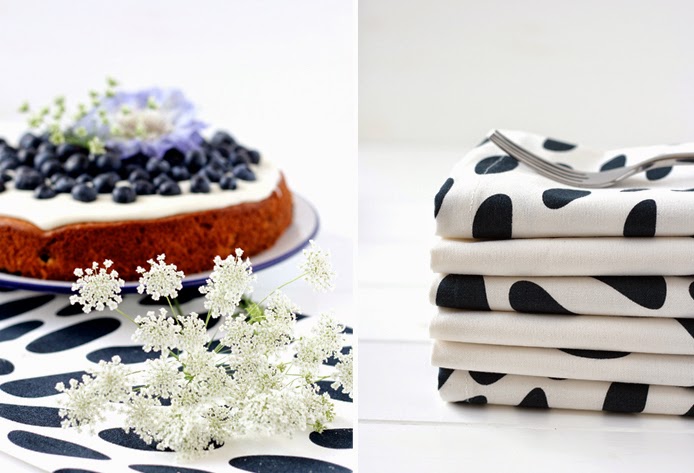
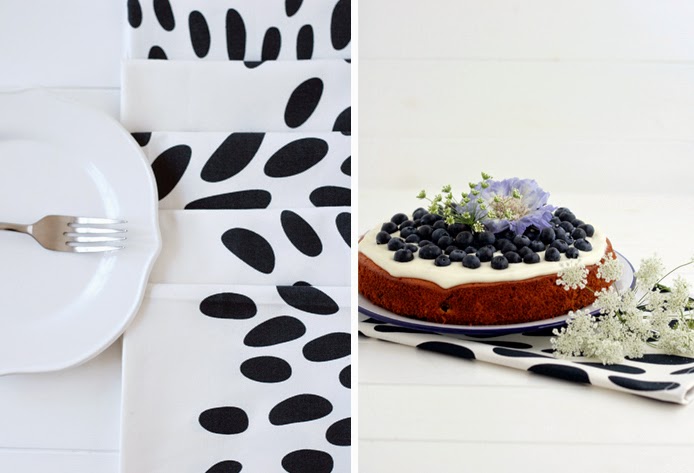
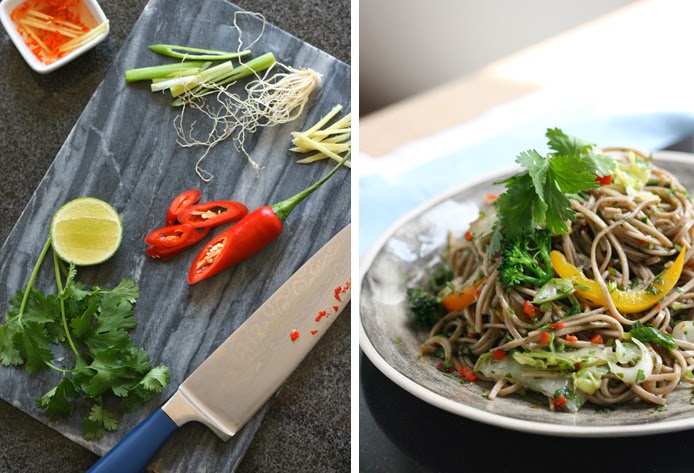 This post shows just a selection of the images I took during my time at Leiths. I must say, I did feel more at home styling and photographing the cakes, particularly once I saw that edible flowers were on hand. One thing that this course did unexpectedly provide me with was a definition of my style of work. Talking through my photography and styling with Bill, it became clear how I want to take my work forward visually. He provided me with lots of valuable advice which I intend to follow over the coming months. I can't wait to put it into practise now.